
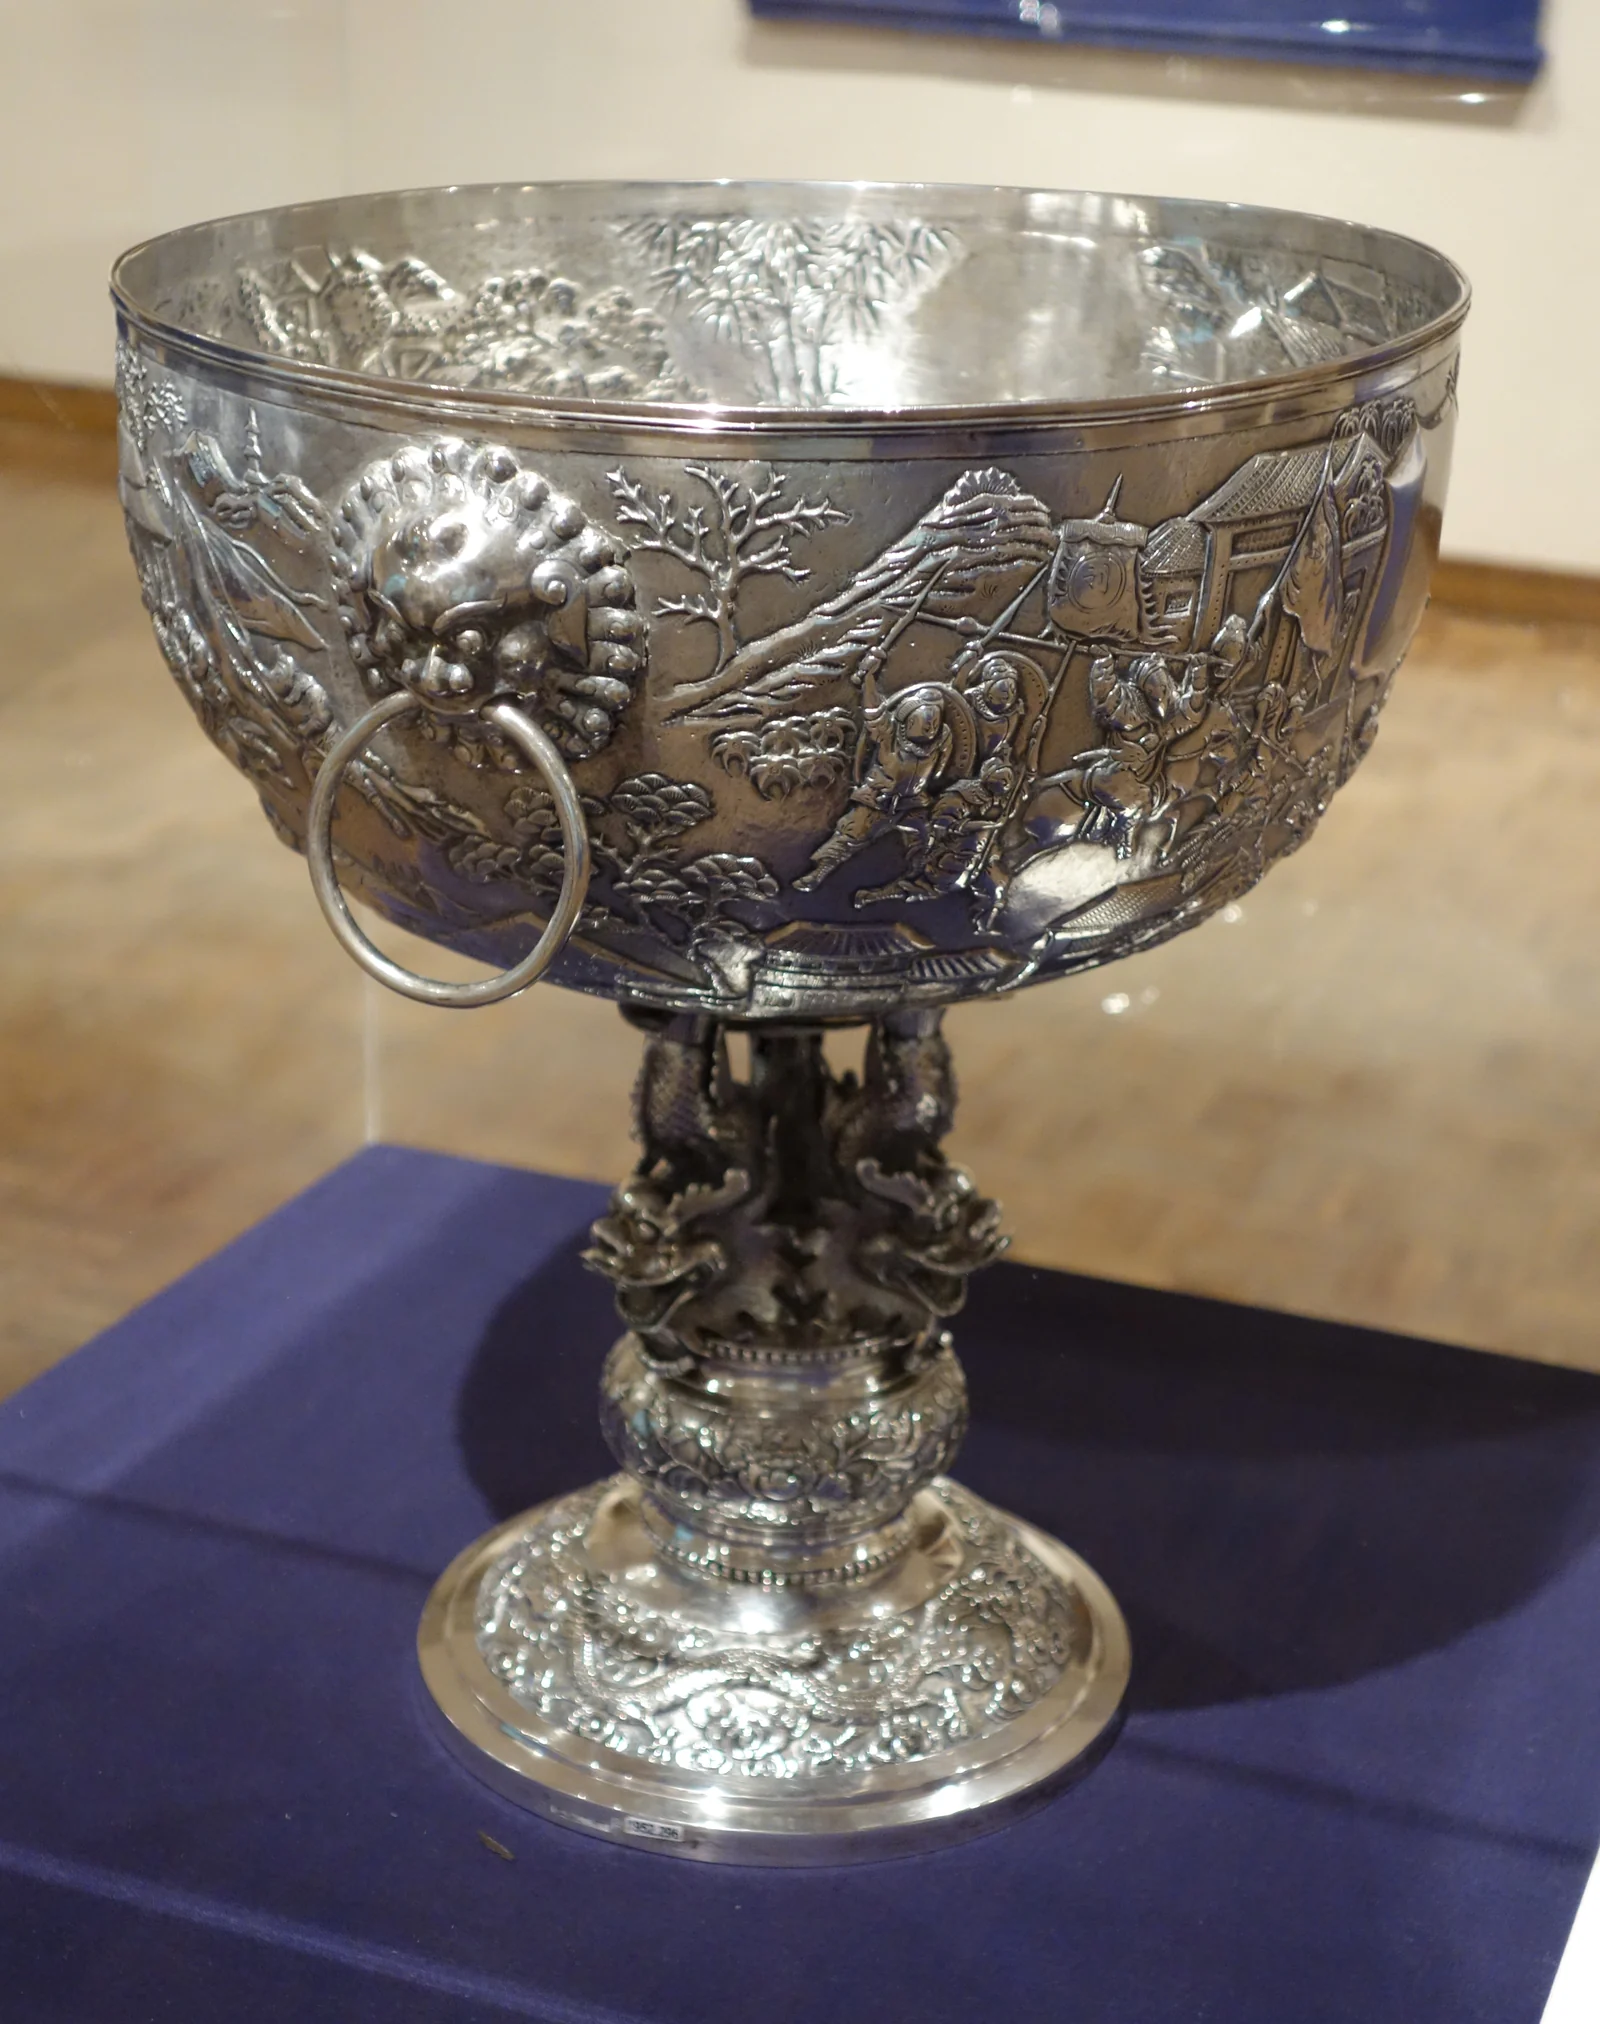
Read the making
A finished silver object conceals decisions. A broad wall may begin as sheet; a projecting handle may be made separately; a line may be cut, chased or formed by the meeting of two parts. Learning to notice these differences lets you enjoy the craft without pretending that a photograph can answer everything.
Move from the outline to the interior, then to the underside and joins. Do the parts fit the design? How does the decoration respond to the curve? Is a bright line a reflection, an original seam or a repair? The right first step is description, not a verdict.
Sheet, relief and engraving
Raising shapes sheet into a vessel through controlled hammering. Repoussé develops relief from the reverse, while chasing works the front to refine form and detail. Engraving cuts into the surface. These techniques can coexist on one object rather than belonging to separate categories.
A smooth interior does not automatically mean that exterior relief was cast. A separate liner can conceal the back of the outer work. Equally, an irregular surface is not proof of handwork or age. Construction needs to be read in the complete object, especially where liners, applied decoration or repairs obscure the evidence.
Parts and joins
Handles, feet, finials and ornamental branches can be separately formed and attached. Cast components are not a failure of craftsmanship: casting is one of the legitimate tools of the silversmith. What matters is understanding how the parts belong together and how they have survived.
Check the underside of a handle join, the seating of a lid and the junction between a stem and foot. Uneven solder or a displaced part deserves a question, but photographs rarely establish the full history of a repair. Ask for a condition report and, for important purchases, examination by a qualified specialist.
A useful looking sequence
Begin with the silhouette. Place whole-object views beside one another before magnifying the ornament. A leaning stem, distorted rim or lid that sits unevenly may be easier to see at ordinary scale. Then look at the interior and base. These less theatrical views often explain how a vessel was assembled and where it has been stressed.
Move next to transitions: handle to wall, foot to stem, hinge to lid, finial to cover. Ask whether a line continues naturally or ends abruptly. Compare both sides where the design is meant to be balanced. Record a difference without assuming its cause; a maker’s working variation, old repair and recent damage are not interchangeable explanations.
Finally, photograph the marks at useful scale and connect them to the view of the part carrying them. This order helps prevent a famous name from overpowering the rest of the evidence. It also produces a coherent set of images for a conservator or specialist, rather than a folder of attractive details with no indication of where they belong.
Metal, marks and weight
A fineness number is a claim about material. It is not a modern laboratory report, and neither colour nor a magnet test can authenticate a complex antique. Plating, repairs, inserted components and composite construction complicate simple conclusions. Keep the evidence for alloy separate from the evidence for age and attribution.
Record the unit when weighing. Grams, ordinary ounces and troy ounces are not interchangeable. Gross weight may include non-silver materials; even a correct total cannot automatically be used as fine-silver weight. If a catalogue prints conflicting units, preserve the discrepancy rather than quietly calculating a value from one of them.
Care with restraint
Before cleaning, photograph the object and decide what needs attention. Dirt, tarnish, old repairs and intentional surface effects are not the same thing. Aggressive polishing can soften decoration and inscriptions; liquid can enter hollow or composite parts that are difficult to dry.
Avoid making a promising antique “look new” as a first step. For complicated construction, unstable joints, historic surfaces or uncertain materials, seek conservation advice. Our weighted and composite silver guide and authenticity guide help separate safe observation from interventions that may change the object.
Questions that lead to better answers
“Is it genuine?” is important but broad. Break it into questions a seller or specialist can actually answer: what is the stated material, what evidence supports the attribution, which components are original to the object, and what repairs or alterations have been identified? Ask whether a date comes from an inscription, a documented provenance or comparison with other work.
For a hollow or composite object, ask what the weight includes. For a vessel with deep relief, request views showing the interior. For a multi-part assembly, ask for separate photographs of the loose parts and how they fit together, without encouraging forceful disassembly. Never ask someone to scratch, acid-test or dismantle a historic piece merely to produce a more persuasive online listing.
The result should be a clearer understanding of the object, not a false promise of certainty. Some questions will remain open. A record that distinguishes observation, catalogue attribution and unresolved interpretation is both more useful to the next owner and more respectful of the people whose work survives in the silver.